Setup Facebook Login and Camera for Android App using PhoneGap 3.4
This tutorial explains the manual steps to integrate Facebook Login and add Camera plugin for Android application which is created using PhoneGap 3.4. For Facebook plugin configuration and samples, refer phonegap-facebook-plugin available on GitHub.
Pre-requisites
PhoneGap 3.x (refer this link to setup PhoneGap on Windows or this link to setup on OS X Mavericks)
Android SDK
Android device or emulator
Manual Steps for Facebook and Camera Plugin
1. Let's start by creating a new project with name - SampleFBCamera.
Run command >phonegap create SampleFBCamera
Also, you can use the following command format
>phonegap create
[projectfoldername] [package name in reverse domain style] [projectname]
You can even change this information post-create process from config.xml file stored in [projectfoldername]\www folder.

Note: For some unknown reasons, the above command format didn't work on my Windows machine hence I had to change the config.xml file manually.
2. Run command to add Camera plugin. Refer PhoneGap Plugin APIs page to know available plugins.
>phonegap local plugin add
org.apache.cordova.camera

3. Run command >phonegap build android or >phonegap run android – to check if the application build and deploy process is working properly or not.


It did throw an error at the end.
[ReferenceError: a is not
defined]
[error] Cannot set property 'is_top_level' of undefined
But, when the same command was executed again and it worked without any problem. Even >phonegap run android was able to build and deploy the application successfully on AVD emulator.
Note: I am using PhoneGap version 3.4.0-0.19.7.
4. Create a new workspace "samples" which will be used for sample applications. Open Eclipse -> File menu -> Switch Workspace -> Other… -> Workspace Launcher window opens. Create a new folder "samples", select it and click on OK button. Eclipse will close and re-open with new workspace.

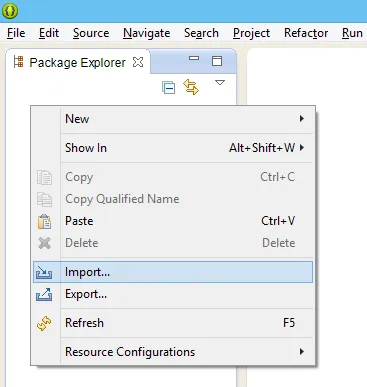
5. On Package Explorer window, right click to open context menu and click on Import to import an existing Android project.
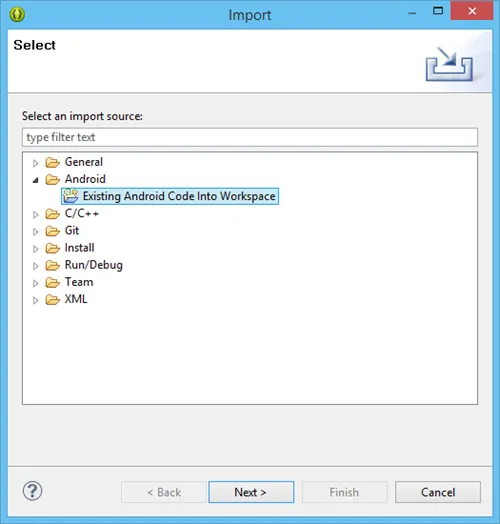
6. In this case, we are importing the SampleFBCamera application created by PhoneGap. A new window Import opens. Expand Android and select "Existing Android Code into Workspace". Click on Next button.
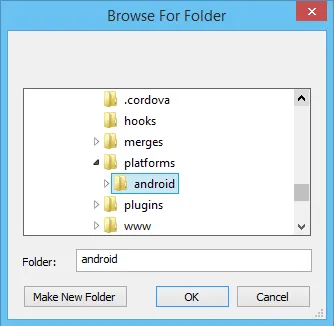
7. The next window allows us to import the project. Click on Browse button and select the "android" folder from phonegap/[projectfoldername]/platforms folder.
Click on Finish button. No check boxes where checked on Import Projects window.
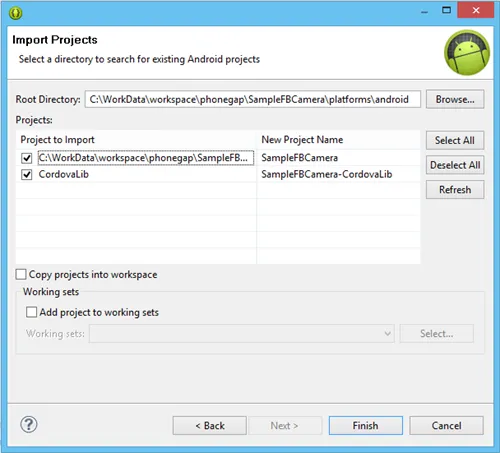
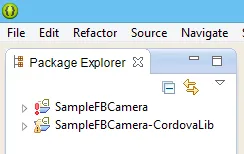
8. Build and run the projects to see if it works or not. SampleFBCamera-CordovaLib is added as a library in SampleFBCamera. Right click on SampleFBCamera project -> expand Run As -> click on 1 Android Application. It will deploy the application on emulator or device.
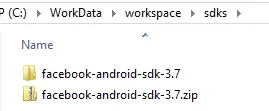
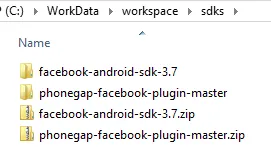
9. Download Facebook SDK from Facebook Developers website and extract it to "…\workspace\sdks" folder.
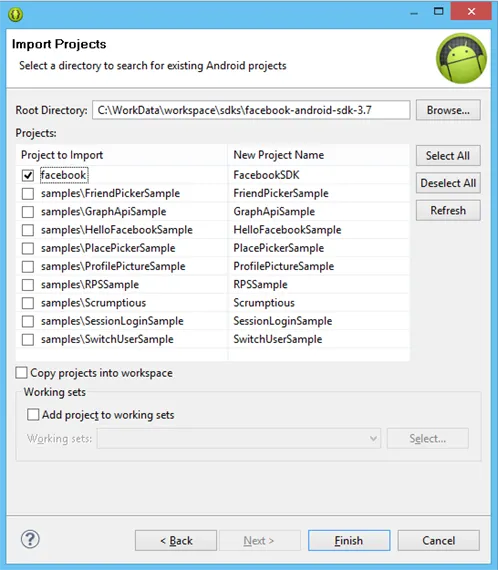
10. Now again use the Import project and select from existing Android Code into Workspace. This time select only Facebook SDK project.
11. You will see following messages under Console tab when FacebookSDK
gets imported.
[2014-03-21 11:59:57 - FacebookSDK] Unable to
resolve target 'android-8'
[2014-03-21 11:59:58 - FacebookSDK]
Unable to resolve target 'android-8'
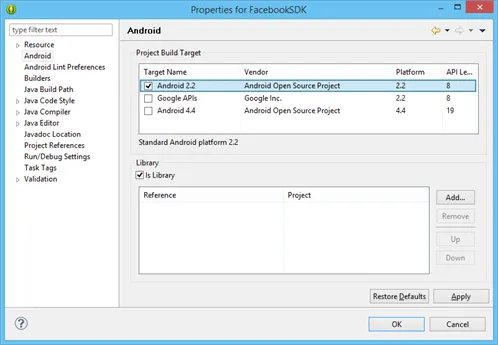
This error message indicates that FacebookSDK uses Android 2.2 (API 8). You can install it using the Android SDK Manager.
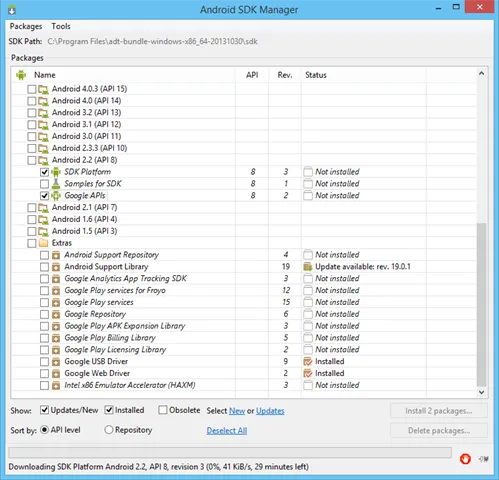
Close and open Eclipse again. Right click on FacebookSDK project and click on Properties. In Properties for FacebookSDK window, click on Android. It will show Android 4.4 as checked. Select Android 2.2 and click on OK button. Now FacebookSDK is using Android 2.2 (API 8).
12. Try to build the projects. First build CordovaLib, followed by SampleFBCamera, then FacebookSDK and finally SampleFBCamera project.
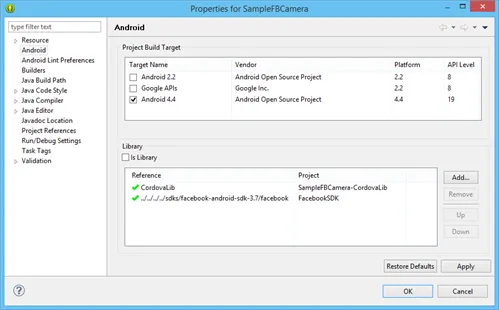
13. Now right click on SampleFBCamera > Properties > click on Android and add FacebookSDK as a Library to this project.
14. Now again try to build the project in the sequence as given in step #12.
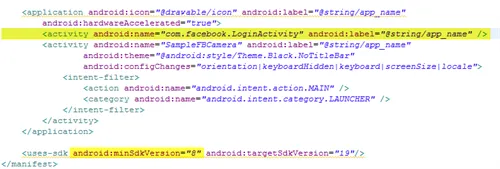
15. Change android:minSdkVersion to 8 in Android Manifest.xml file for
SampleFBCamera project.
<uses-sdk android:minSdkVersion="8"
android:targetSdkVersion="19"/>
Also add code for Facebook login activity into Android Manifest file.
<activity android:name="com.facebook.LoginActivity"
android:label="@string/app_name" />
16. From Package Explorer tab, expand res\xml folder and open config.xml. Add feature for Facebook.
<feature name="org.apache.cordova.facebook.Connect">
<param name="android-package"
value="org.apache.cordova.facebook.ConnectPlugin" />
</feature>

Add access origins as given in documentation.
<access
origin="m.facebook.com"/>
<access
origin="graph.facebook.com"/>
<access
origin="api.facebook.com"/>
<access origin="*.fbcdn.net"/>
<access origin="*.akamaihd.net"/>

17. Download the phonegap-facebook-plugin from GitHub in ZIP format (look for Download ZIP button on right side).
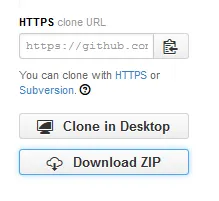
Extract the zip file to workspace\sdks folder.
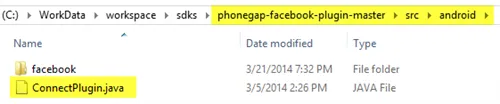
18. Using File Explorer, navigate to platforms\android folder and create the following nested folder structure "org\apache\cordova\facebook". Copy "ConnectPlugin.java" from phonegap-facebook-plugin-master\src\android to platforms\android\src\org\apache\cordova\facebook folder.

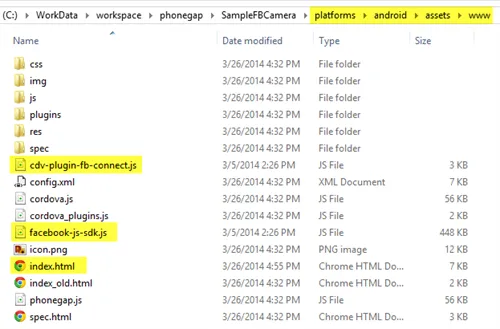
19. Copy two Javascript files: cdv-plugin-fb-connect.js and facebook-js-sdk.js from - …\sdks\phonegap-facebook-plugin-master\www folder to …\platforms\android\assets\www folder.


Also, copy index.html file from - ...\sdks\phonegap-facebook-plugin-master\example\Simple folder to - …\platforms\android\assets\www folder.
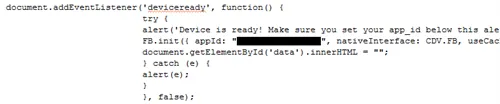
20. Login to your Facebook Developer account and create a new app - SampleCamera. Facebook rules do not allow use of word "FB" in Display Name field for the app. Copy the Facebook App ID to the index.html file. Look for "deviceready" event at the end of the index.html file.
21. For samples on Camera or how to use the API, refer the documentation on PhoneGap.
22. Build SampleFBCamera project and later click on Run As -> 1 Android Application to deploy it on emulator or device. The Android app will open an alert prompt with message "Device is ready! Make sure you set your app_id below this alert.". Tap on the OK button. Tap on Login button which will invoke the Facebook Login popup.
Some Helpful Links
These are few more helpful links for the problems which I encountered while configuring camera plugin.
1. To know which plugins are installed run command > phonegap local
plugin list
This one is really helpful to verify if camera plugin
was included or not.
2. Add the camera permission and feature to manifest file so that the application starts displaying the permissions properly while installing the Android application. Just adding the plugin will not display permission for camera access. Refer this link from StackOverflow. Check the screenshot in this link from PhoneGap community.
Also, make sure the only one JavaScript file is accessed i.e. cordova.js (no need for phonegap.js). Refer this link from StackOverflow.